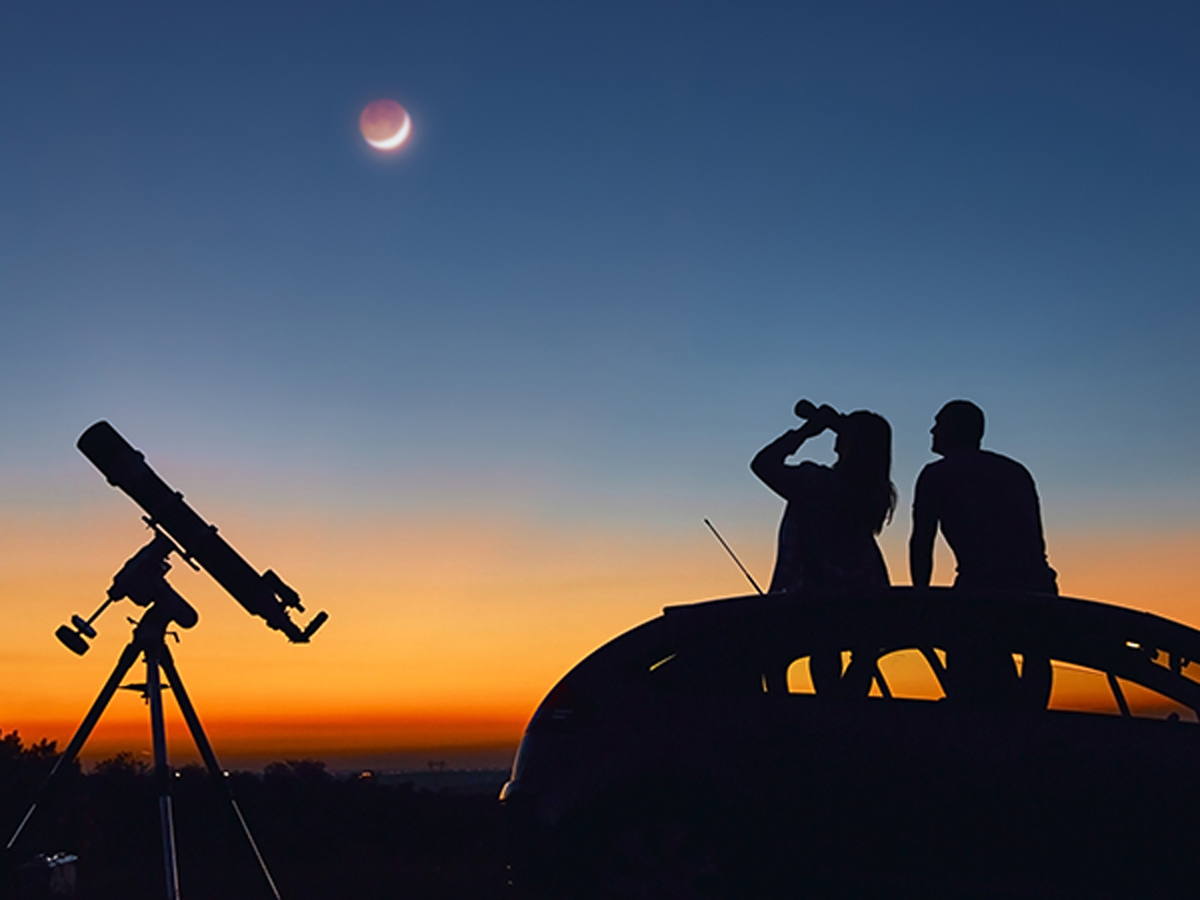
You do not need to begin astronomy with a long list of star names or a telescope you do not yet know how to use. Start with a question you can follow up: can you identify one object, describe what you actually saw, and return to it on another suitable night? This turns a passing glance into learning you can review, even when the first session is short.
This guide helps organise early night-sky sessions, read a sky map and keep useful notes. It does not predict which object will be visible tonight in your city; that needs an up-to-date location, date and time. The timetable and examples were created by Haneen 360. This AI-assisted content has not received independent human editorial review.
Choose one goal you can describe
Pick a simple target after checking its visibility for your place and time: locating the Moon if it is visible, matching a clear star with a suitable map, or recording the part of the sky blocked by a building. A session need not end with a spectacular photograph or a discovery. Understanding why you could not see a target is useful when you record the reason clearly.
The skywatching questions page includes information about starting without specialist equipment. Use it as an introductory reference, then write a specific objective: “match the target with the map” or “sketch its position relative to a fixed landmark”. “Learn astronomy tonight” is too broad to show what you achieved and what remains uncertain.
Distinguish the object from its representation
A map is not a photograph, and lines joining stars on a screen are not glowing threads you will see overhead. They are aids for recognising patterns or organising the display. Read the map legend. Does symbol size encode apparent brightness, or is it simply a planet icon? Do not infer an object's actual physical size from the area of its symbol.
Two nearby dots on a map also need not be neighbours in space. The display represents apparent directions from the observing location, rather than necessarily providing a three-dimensional distance model. Keep three things separate in your notes: what you saw, what the map displayed, and what a reference explained about the object's nature. That separation prevents a simplified diagram becoming an unsupported claim.
Set the location and time before searching
Check that the map or app uses the intended observing location, correct date, local time and appropriate time zone. It may still be set to a previous location or to a time you advanced while exploring the controls. Open the actual time settings instead of relying on a general heading such as “today's sky”.
After midnight, write the new date explicitly. A session beginning at 23:50 and ending at 00:10 crosses into the next day and lasts 20 minutes in this organisational example. Do not place its ending time under the starting date without explanation. When copying an event time from another reference, check the time zone it means rather than guessing a conversion from universal to local time.
Read the direction and horizon before the star's name
Establish which way you are facing, then match that to the map's viewing convention and instructions. It may depict a sky seen overhead rather than a flat scene read like a street map. If labels seem reversed, check how the map should be held or rotated before concluding that the sky does not match it.
Inspect the real horizon too. A building, tree or hill can block a position the map shows as theoretically available. Write “blocked by the building” rather than “the target does not exist”. A rough horizon sketch with recognisable landmarks can help on another night. You do not need to publish your home address or private location details to make a useful personal observing record.
An invented twenty-minute session plan
This timetable is a way to keep a first goal manageable. It is not a scientific dark-adaptation period, a visibility guarantee or a reason to remain somewhere unsuitable. Extend or shorten it according to conditions and participants' comfort. Change the plan when the sky does not allow the intended observation.
| Task | Allocated minutes | Intended outcome |
|---|---|---|
| Check place and time | 3 | Correct circumstances in the record |
| Find direction and align the map | 4 | One search area |
| Observe patiently | 8 | Description of what appeared or was blocked |
| Write or sketch the observation | 3 | A record you can understand later |
| Choose the next session's question | 2 | One clear follow-up |
The total is 3 + 4 + 8 + 3 + 2 = 20 minutes. If setting the map takes six extra minutes, keeping all other tasks makes the total 26 minutes. Alternatively, shorten an appropriate task instead of claiming that you followed the original allocation. Time here is a planning resource, not a measure of observation quality or proof of learning.
Use the Moon as an example of repeat observation
If you have checked that the Moon is visible at your chosen time, sketch the illuminated shape as you see it and record the date and time. Do not name a small patch or crater merely because the map contains its label. First write what you could actually distinguish, then compare the candidate feature with a reference. “A darker patch near the visible edge” is a useful description before identifying a name.
The Moon-viewing reference includes examples from different observing methods. Notice what kind of image you are comparing. A spacecraft view or processed photograph need not match a naked-eye or small-instrument view. Choose a comparison relevant to your equipment, and do not interpret a difference from a detailed image as a failure to learn.
Write the observation before the explanation
Divide a notebook page into “I saw”, “I think” and “I need to check”. “I saw a bright point above the building edge” is an observation. “I think it is the planet marked on the map” is a candidate identification. “I need to match direction and time” is a verification step. If you later correct an identification, retain the earlier note and add the correction so you can understand the confusion.
Record comparison limits as well: cloud, obstruction, nearby lighting, a different instrument or uncertainty about direction. A different count of visible points on two nights does not by itself demonstrate a change in the sky when viewing area or conditions changed. A log is not a competition to collect names. Its value lies in making the next question more precise.
Learn the equipment before making it the goal
You can start with what you can observe without buying anything. If you already have an instrument, read its instructions and learn about support, focus and image orientation. Do not assume every instrument's view will match an app screen in shape and direction. When an unexplained difference appears, record the equipment, setting and question instead of changing everything at once.
Before buying equipment later, describe what your current setup cannot show and why you want to observe it. Trying an instrument at an appropriate astronomy activity may clarify your needs better than comparing magnification figures alone. This article tests no products and promises no particular visible details, so it does not rank the best devices.
Make the location comfortable and suitable for night observing
Choose somewhere you can reach and leave safely, and respect access rules and privacy. A wider view is not a reason to stand beside an edge or traffic or climb a structure not intended for that use. With companions, agree on a meeting point, finish time and a way to secure equipment before moving.
Night observing only. Do not look at the Sun or aim binoculars toward it; consult specialist solar-safety guidance.
You can cancel when conditions become unsuitable. Record why and which question you will revisit instead of filling a notebook with details you never saw. Allocating time to an outing does not create an obligation to claim that a target was observed.
Questions from first observing sessions
Why could I not see the object shown in the app?
Check location, date, time and map orientation, followed by obstruction, conditions and equipment. A symbol on a screen is not a certificate of visibility from your exact standing position. If the reason remains unclear, keep the display settings and notes and ask an experienced observer rather than declaring that either the app or the observation must be wrong.
Do I need to memorise many names?
Begin with one name and a description that helps you locate it, then revisit it during a suitable session. Knowing how to check a name is more useful than memorising a list you cannot connect with the sky. Add a small sketch or clear reference to each new name so that learning remains connected to observation.
Must I have a photograph to prove an observation?
No. A precise description with time, general location, conditions and equipment can be a useful record. If you take a photograph, retain its information and document any processing. Do not present a differently captured or combined image as exactly what an unaided eye sees.
References, image and next step
The linked skywatching, Moon-viewing and safety pages were consulted as references; the safety reference was checked on 2 November 2026. The illustrative article image comes from the Moon-viewing page and is credited to NASA. It is reproduced unchanged under the media-use guidelines. Haneen 360 independently prepared this article; it has not been reviewed or endorsed by the source organisation.
Start with a short record: target, date, time and time zone, general place, conditions, equipment, observation and the next fact to check. Revisit one question from it in your next session. Your understanding can then grow from observations you can return to, without invented results or a target list unsuited to your circumstances.