A missing button, loose hem, and opening near a seam are different problems, even when each is described as “this garment needs repair.” A useful decision starts with what you can see and what you want restored: a functioning closure, a suitable length, or an appearance in which visible mending is acceptable. Before buying a whole kit or discarding the item, identify the question that needs answering.
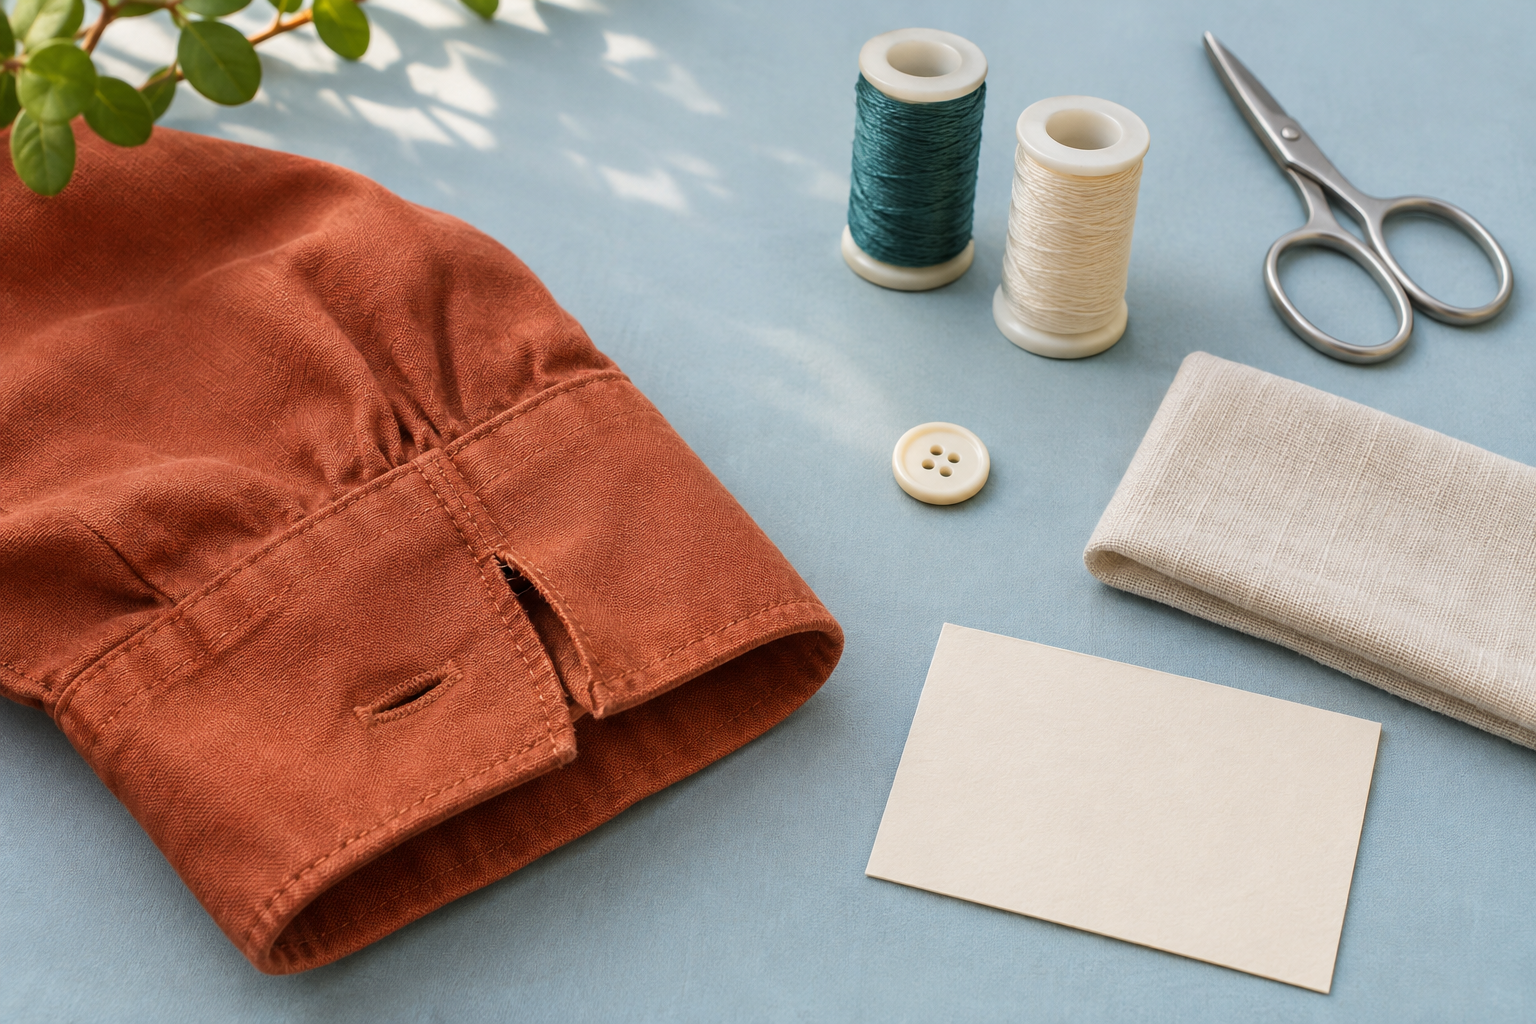
This guide organises assessment, a clear repair request, and review of the result for everyday clothing. It does not diagnose from photographs, give one sewing recipe for every fabric, or establish that a particular item is repairable. Examples and numbers are hypothetical. The generated image is fictional, not proof of a completed repair or a before-and-after comparison.
Separate the visible fault from an assumed solution
Write “an opening where the sleeve sides meet” rather than immediately deciding one stitch is needed. The assessor may need to inspect fabric, edges, lining, and earlier work. Record location, approximate size, and when you noticed it. Do not pull the fabric to test its breaking point or widen the opening for a clearer photograph.
Patagonia Australia's page describes repairability as an individual garment assessment.
This discourages generalisation; it is not a service promise for every brand or country. Check a particular provider's current scope and conditions directly. Do not transfer prices, turnaround times, or acceptance from another person's experience to yours. A newer garment is not guaranteed repairable merely because it is newer.
Create an item record instead of a pile of guesses
Give the item a simple identifier, such as shirt-01, and photograph the whole garment and the affected area. Use a clear background without documents or personal information. Keep a photograph of fibre-content and care labels if present, copying their text rather than identifying material solely by touch. Record unknown information as unknown.
Add known previous attempts: was a button removed, a patch applied, or adhesive used? Do not conceal this from the repairer; they need the present condition, not an idealised description. Keep loose parts in an envelope linked to the item identifier, without securing them using loose needles inside pockets. Remove possessions from pockets before handing over clothing.
Questions based on what you observe
| Observation | Document | Question before work | Do not assume |
|---|---|---|---|
| Missing button | Position, remaining buttons, any spare | Is there a replacement suitable in size, appearance, and use? | Every button closes the buttonhole identically |
| Loose hem | Open section and length to preserve | Secure the hem, or also change the length? | Repair automatically means shortening |
| Opening near a seam | Inside and outside without pulling | Does the join or the fabric itself need attention? | Every opening is only loose thread |
| Closure not working as desired | What happens in ordinary use without forcing | Which part needs examination or replacement? | The whole closure must be replaced |
This clarifies a request; it does not diagnose the required work. If fit is the issue, describe the movement or area that feels unsuitable rather than merging it with another fault. Resizing and repairing a seam may require separate decisions. Avoid a vague instruction that hides both jobs, their cost, and the expected result.
Define an acceptable outcome before choosing a tool
Write your priorities. Is a visible patch acceptable? Must sleeve length remain unchanged? Should a replacement button resemble the others, or would a coordinated replacement set be acceptable? The repairer cannot know your ranking automatically. “Fix it however you can” may mean something different from the image in your mind.
Separate function from appearance. Visible mending may be your aesthetic choice, or you may want a discreet result for particular clothing. Ask for a description of achievable results instead of a guarantee the damage disappears completely. If matching colour or parts are unavailable, decide on the alternative before work starts, not after collection.
Choose between practice and specialist assessment
If learning a simple repair, begin with a practice item or similar scrap you can spare, using instructions suited to its construction. A valuable garment need not become your first experiment because a video calls the task easy. Read tool instructions, keep sharp tools away from children, and do not work on clothing while it is being worn.
The iFixit guide with Patagonia covers a tear along a straight seam.
That is a specifically scoped example, not instructions for every opening or material; its steps and photographs are not reproduced here. Check any guide's suitability for your situation and experience. When construction or likely results are unclear, seek someone experienced with that clothing type rather than adding cutting, adhesive, or heat whose effects you do not understand.
Do not apply an everyday-clothing guide to restore protective functions or certified technical performance. Consult the appropriate specialist for an item serving a protective or special function. A complete-looking exterior does not prove that an invisible property or the original manufacturing specification has been restored.
Request a scope, not just a price
Send fault description, photographs, and priorities. Ask what the price includes: work, parts, transport, and any separate assessment. Distinguish confirmed information from matters needing inspection. Do not compare a preliminary figure excluding parts with an inclusive offer and conclude the former is the lower final cost.
In invented arithmetic, one offer has 12 currency units for labour, three for parts, and five for transport, totalling 20. Another costs 25 and already includes transport, so its total remains 25; do not add the five again. The totals differ by five, but this does not judge workmanship or suitability. Comparable scope is needed for a useful comparison.
State when you need the garment and request an expected date without assuming a guarantee. Agree beforehand that additional work requires contact before proceeding. Do not impose a fixed repair-to-new-price percentage as a universal rule. Your value includes fit, use, and desire to retain the garment, not arithmetic alone.
Make handover and review explicit
Follow the provider's preparation instructions and consult the care label before cleaning. Do not try a new treatment just to make damage look smaller before assessment. Include the identifier, problem location, and agreed outcome. Keep the request and photographs privately without publishing the repairer's personal information or conversations.
At collection, compare with the agreement: did the required length change, is the replacement acceptable, and does anything remain unclear? Try ordinary use gently where appropriate, without excessive pulling disguised as a quality test. Check care instructions after repair, particularly if a different material or part was added.
If results differ from the request, describe the specific difference and provide clear photographs before another alteration obscures the condition. Begin with the detail rather than an accusation or blanket judgement. There may be a scope misunderstanding to clarify. Keep what was said and done separate from personal expectations.
Manage several items without losing their status
In an invented organisation example, eight items comprise two ready to use, three awaiting quotations, two reserved for practice, and one undecided. The total is 2 + 3 + 2 + 1 = 8. This is a status distribution, not a statement that six items were repaired. Sending an item or buying thread does not make it complete.
Give each request a next step and suitable follow-up date. Move it to completed only after reviewing the result. If a fault recurs, note the date and use circumstances rather than assuming one cause. A small record can support the next assessment but cannot diagnose textile or stitching quality itself.
For an upcoming occasion, distinguish the occasion date from the expected repair duration. Prepare an alternative from available clothes rather than pressuring someone into unclear work. A similar garment being ready does not mean the sent item returned, and a delayed reply does not mean rejection. Record only what is known, with a specific follow-up question.
Before removing an item from the repair plan, note why: unsuitable fit, an unwanted proposed appearance, or another assessment needed. A personal rejection is not proof the garment is universally unrepairable. If choosing another destination, check its acceptance conditions rather than assuming every item suits every service.
Before deciding
- I described the observation without prescribing an unexamined solution.
- I saved garment information, previous attempts, and loose parts.
- I defined acceptable function and appearance.
- I separated simple practice from work requiring expertise.
- I compared clear scope and totals without assumed prices or timing.
- I planned collection review and follow-up for open requests.
Sources and transparency
The Patagonia page and iFixit guide were read on 2 November 2026 to establish assessment and guide scope, without generalising service policies or copying sewing instructions. The request record, table, and examples are original contributions. No actual garment was repaired or strength-tested for this article. The image is generated fiction. This AI-assisted content has not received independent human editorial review.